Now we have covered the most important bits its time to get the ship done! as you can see this is a long process, but IMHO well worth it. and if you game in 1/72 scale or any other scale this tutorial may encourage and help you to make your own ships. I am now just thinking what the hell to do with this one... I need to make up some game for the ships, also I am in the process of converting my old Airfix Robin hood figs (not primed, poorly painted, paint falling off, head swaps falling off) and some Zvezda medieval cannon crew (also not primed) into some pirates and sailors. Also Paul will now be completed, Abigail has taken up so much of my time, A SPECIAL POST WILL COME TOMORROW OR SOON FOR THE SHIP :-D
anyway on with the tutorial!
You will need:
- string
- thread
- normal paper
- nylon fabric or suitable material
- wooden dowel
- thin card
- cereal box card
- thick wire mesh
- balsa
- small nails or the tops of them
- HO scale rail pins... for track (Hornby is what I used)
- thick card, same material as before
- thin wire mesh
- tin foil
- super glue
- PVA/ wood glue
- paint
- necessary painting materials
- craft knife
- wire cutters
- pliers, different types might help
- any program that allows you to print pictures and words (Microsoft word)
so now onto step one for the final part of the ship building project
Step one, complete the deck:
 |
| planks on the rudder |
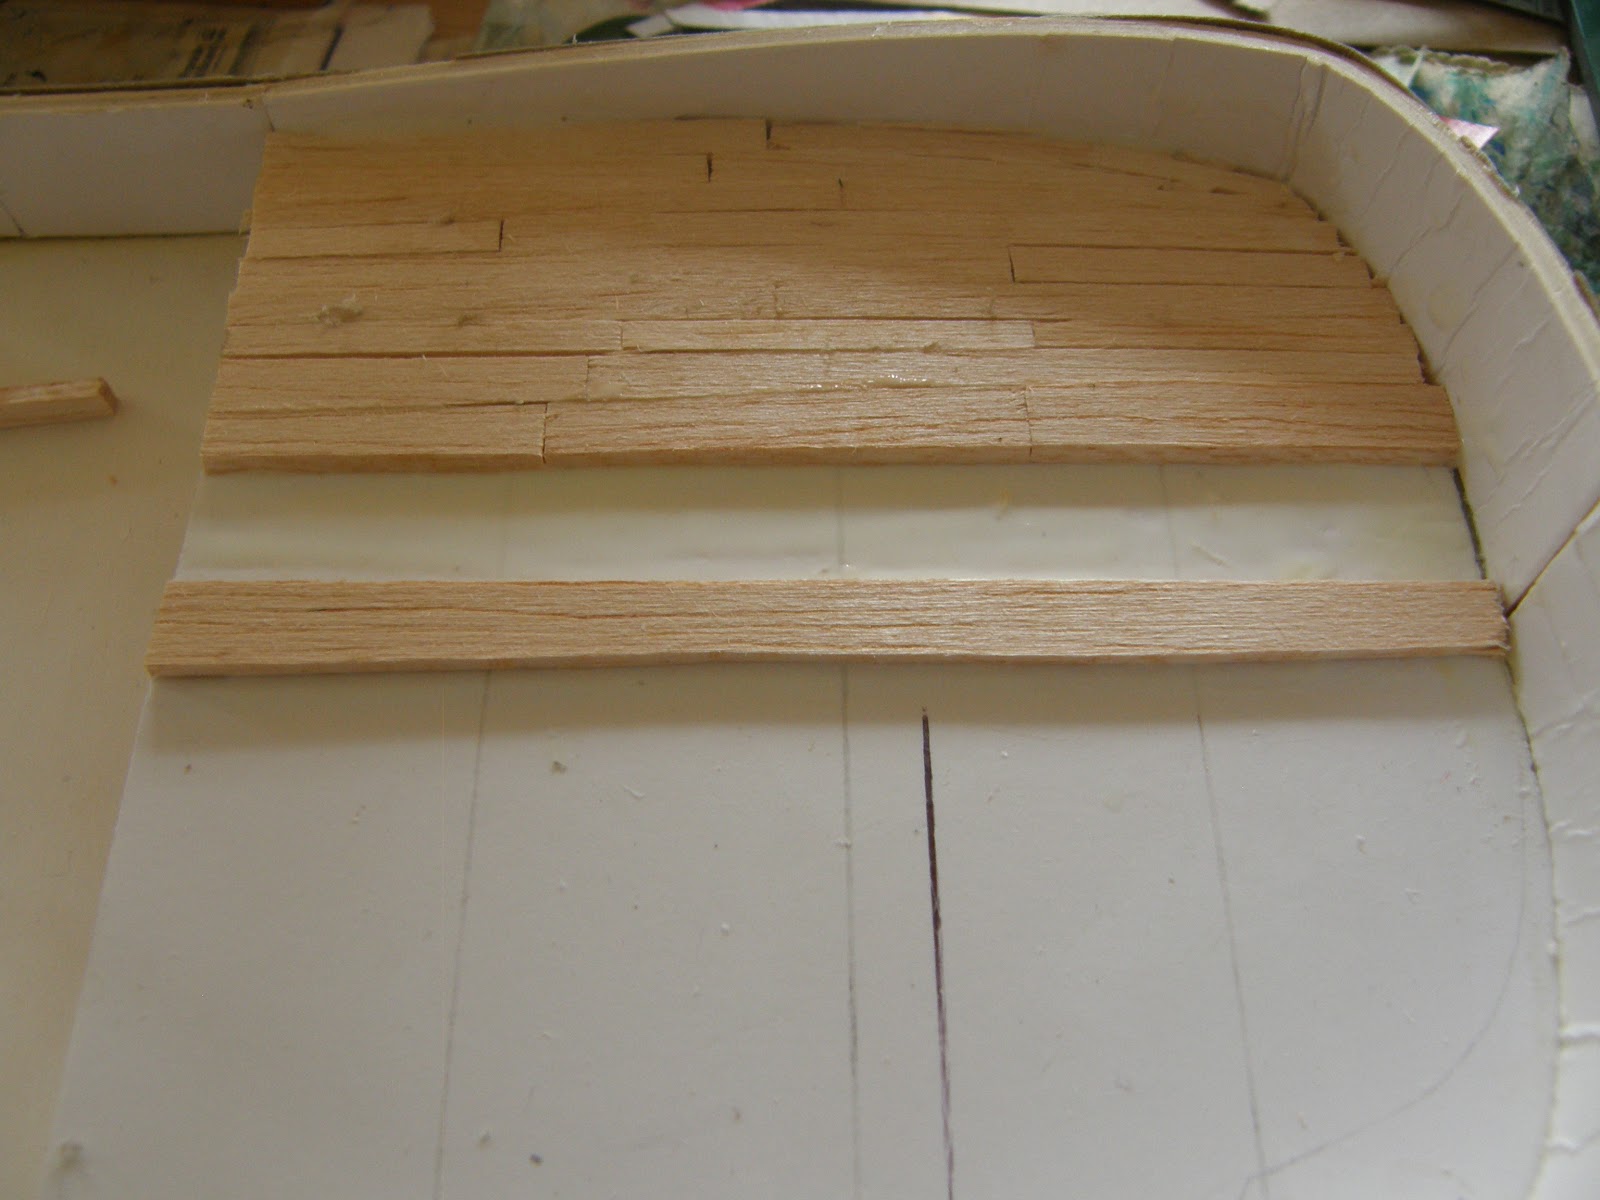
now the ships deck needs to be completed before we go on. last time we put the planking on the fore castle and poop deck, however now the midship needs to be decked.
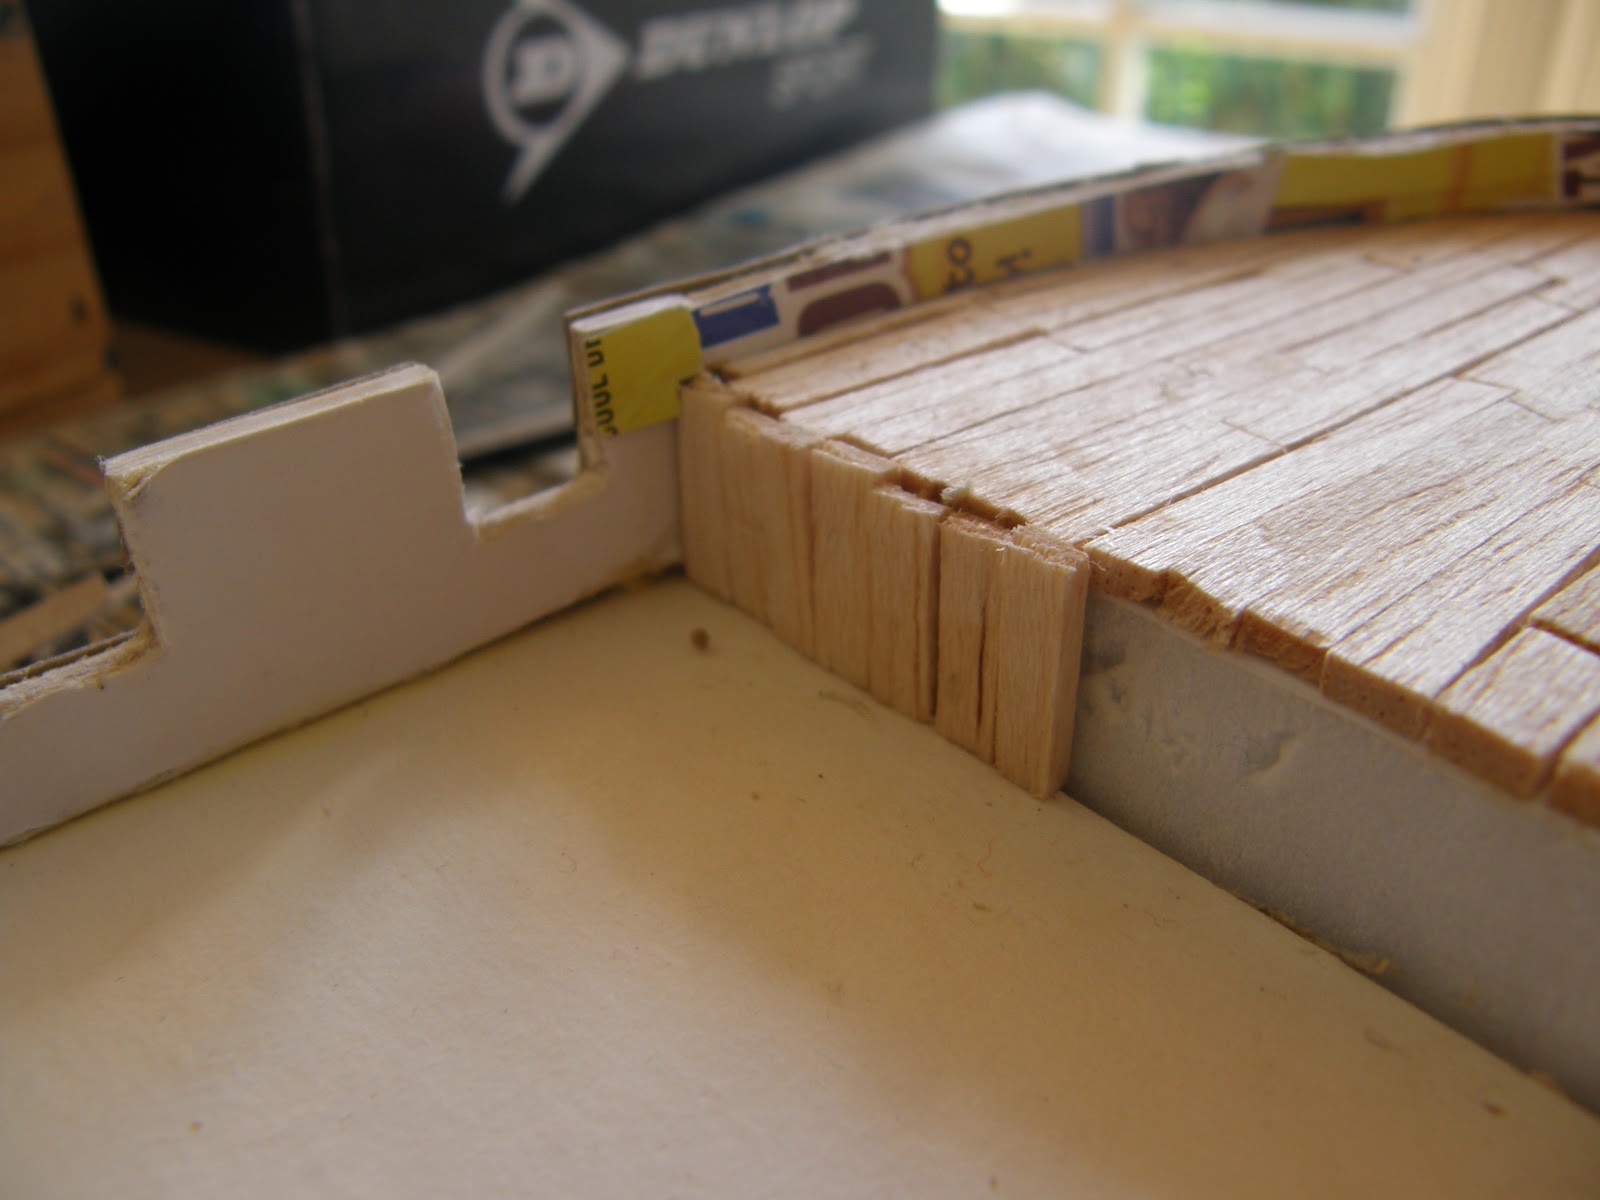
However there is another issue to take care of the planking on the
inside of the sides, this is done by gluing on strips of cardboard also
from a cereal box, however instead of overlapping the strips place them
side by side, do this on the inside of the sides on all decks and also
on the rudder. It is easier to do this now on the forecastle and the
poop deck with the planking on, but easier with it off on the midship,
maybe not but that's how I did it.
 |
| planking on the sides of the poop deck |
 |
| stairs to poop deck |
now with the sides done time to make some stairs, this is done by
cutting 3 strips of thick card about 2 cm wide and each 1 cm shorter
than the other... cover the steps with balsa wood as shown in the images
and then glue 2 at the edges of the ship at stern end and one in the
middle at the bow...
now make the entrance to the captains quarters, this
is pretty simple using whatever you have to hand like some cut foam from
making the sides, glue this to some thick card, create a right angled triangle with the card butting up against the poop deck (something funny about that). now put 2 rectangles of balsa or perhaps some thinner wood as I did again something cheap I had to hand, these 2 rectangles are the doors. get some cereal box card and cut some small strips for the hinges, then 2 small thin strips of balsa glued on for handles.
 |
| entrance to the captains/ officers quarters |
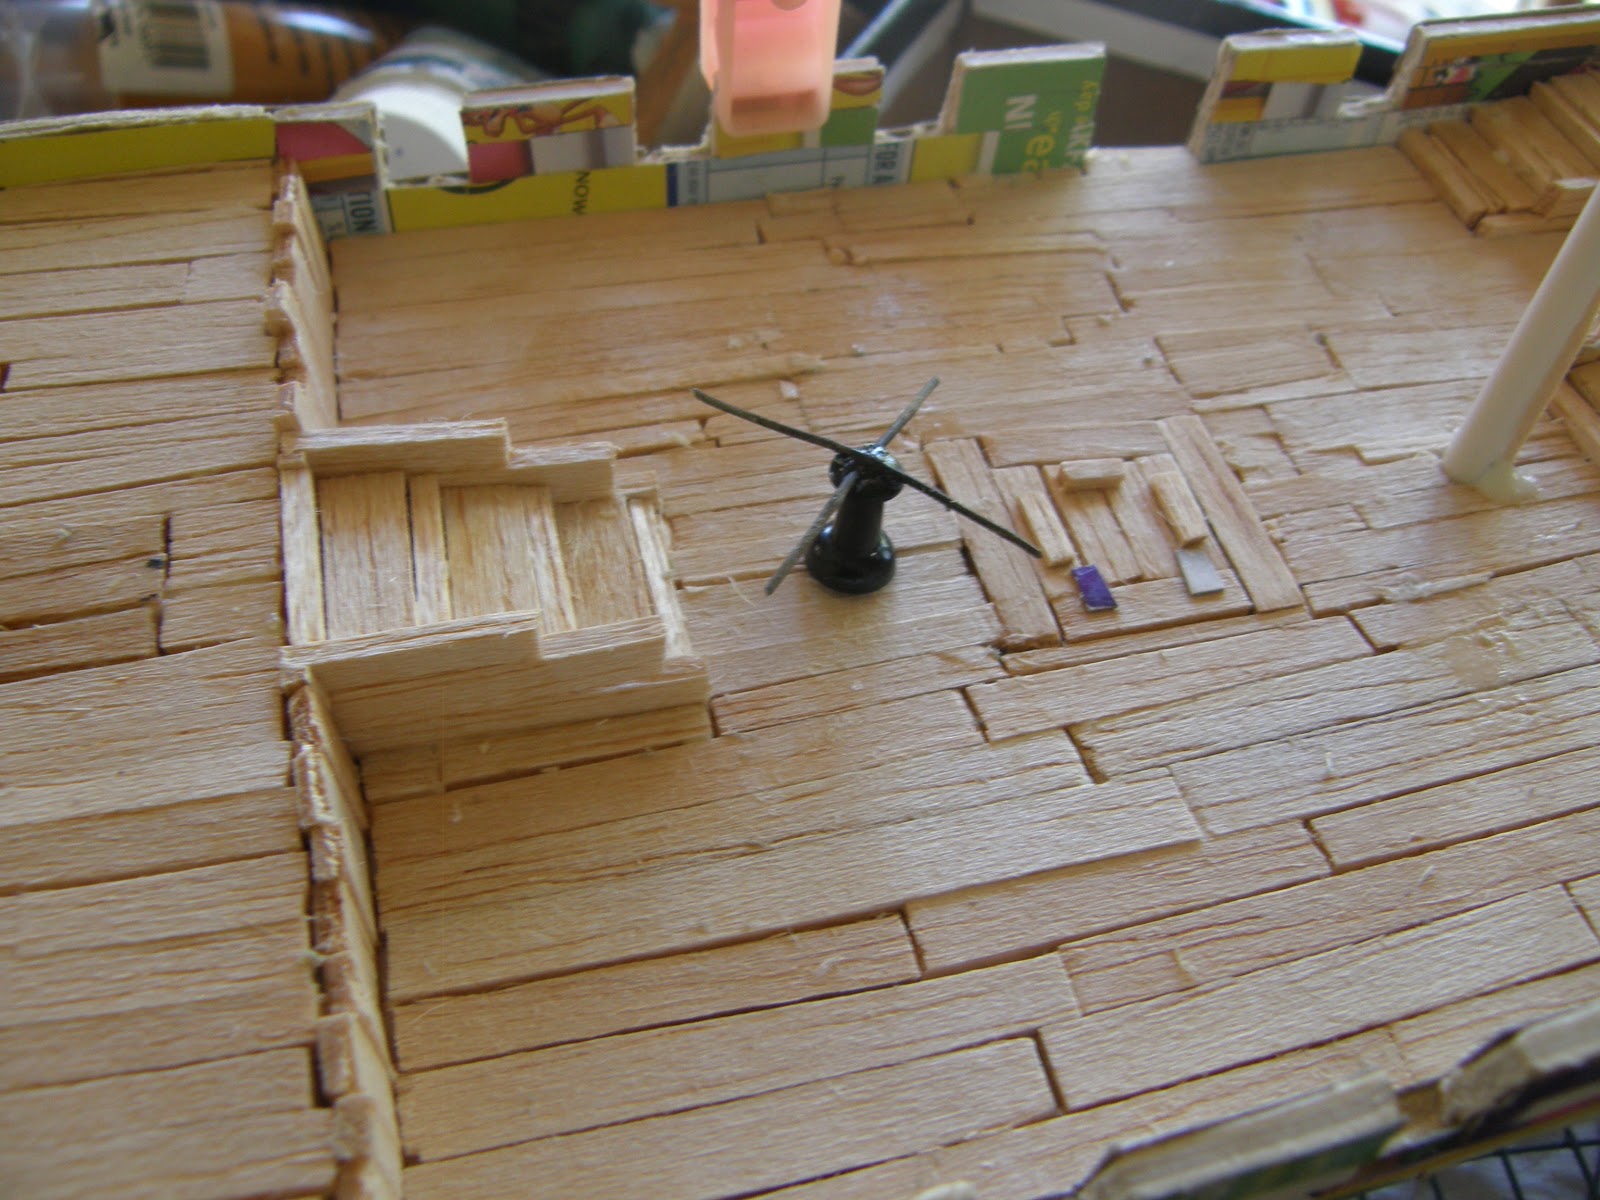
The final detail to put on the poop deck is the ships wheel! this is really quite easy. get some thin wire mesh (rectangular) cut out a cross of the wire, glue onto a strip of balsa which is not longer than the spikes, then get 4 more bits of wire and glue them on so you get what looks like 8 spokes on the wheel, super glue them in place and once that's done some PVA, that will dry and look like a hub on the wheel. then fine somewhere at the front and centre of the poop deck and glue in place as shown then put another strip of balsa which will raise the wheel up to the right height you can cut it into a decorative shape like I did or just a plane rectangle. on the back of this strip glue a third strip onto that as shown on the image you may also want a strip on the deck, it provides a little more support and looks nice. there fore castle and poop decks done.
 |
| ships wheel |
 |
| covering the ends, should have the stairs on and sides by now |
Great now onto the ends of the poop deck and forecastle where they join the midship. before we deck the midship we need to cover up the gaps, glue some short strips of balsa as shown, remember do this after you have placed the captains quarters entrance and the stairs or else you may find that they can't fit against the poop deck or forecastle in a desirable way. once done we can start putting the outer planks on the main deck as shown, remember to put a strip in the little gates at the sides
 |
| the first planks go in and a plank for the little gate at the side |
 |
| putting on the outer planks on the mid ship |
 |
| capstan and hatch |
Now we come to the final deck details, this is the hath to the hold and the capstan. the hatch is easy to do; get a square or rectangle of card, around the edges put some balsa to make the square/ rectangle then on the inside of the edge put parallel strips of balsa to make the hatch itself, then add 2 small handles with thin balsa glue them at the sides and a bigger strip of balsa on one end for the main handle, then as for the captains quarters make some hinges with card. glue in the middle of the deck
For the capstan get a pin (the type used for boards) and then get a cross of wire mesh, heat up the middle with a lighter (hold it with pliers) melt the wire into the top of the pin, super glue in place. then make a hole in the deck and put the pin in that, no need for gluing it in.
 |
| hatch and captains quarters entrance |
now just add the rest of the planks, remember not to cover the hole for the captain pin. but put strips on either side close enough to allow the capstan to rest securely on the planks
step 2 rigging part 1
 |
| the location for the blocks |
even though putting up rigging makes painting and detailing more difficult you may find it helpful to secure the masts before you add sails onto them. first put up a pole right at the stern over the rudder, once that's in place get a very long bit of string. tie it around the jib boom then cut a grove into the top of the fore mast then put the thread through that, then wrap it around the main mast on the bottom of the cocktail stick that sticks up. then pull it down and wrap it around the pole at the stern. use super glue or PVA to secure the string in place... make sure that its tight.
now make a couple of blocks with the end of some small nails in a block of balsa. make 2. glue these across from each other, then wrap string around the blocks then tie it up on the top of the main mast. also make sure they are tight. once again add PVA or super glue to secure them.
 |
| close up of a block |
 |
| shot from side of rigging |
 |
| shot from stern of rigging |
step 3 working with paper and thread;
 |
| paper on the sides |
now
its time to finish up with the hull so far as practical things go.
cover the edges of the sides with paper as shown, this makes them look
better and also helps to prevent the planks on the side getting rubbed
off.
Now its time to make the sails, to do this make a large Isosceles trapezium base around 20cm at the base 20cm tall and 10 cm wide at the top. then cut 2 smaller ones from this, leaving sufficient edges for later. now get some nylon material stuff... I used the edging from some carpet.... yes I recycle lots. glue this to the paper, make 2 more paper sails and glue them to the first 2 sails sandwiching the nylon stuff. its best to compress it under something heavy or a rolling pin
 |
| paper on stern |
do a similar process for the sail or sails on the fore mast. for the triangular mast make 2 right angled triangles glue paper to one and then glue the second triangle to that... again like a sandwich. now attack these to the yards... the cross beams that hold up the sails. to make a yard get some dowel, cut a wedge in the centre... to attach it to the mast and then glue the sail onto the other side with PVA.
now glue the yards to the masts. this is a difficult process and I advise you use pegs or a clamp to hole the yards and sails in place, wait until the glue is dry then get a needle and thread. push 2 holes either side of the mast in the sail and start to wrap thread around the mast and yard with a few loops of thread going through the holes in the sail. this is both aesthetic and practical as it helps to hold the sail in place. then cover in glue. be careful not to loosen the bond between mast and yard.
 |
| putting up the sails |
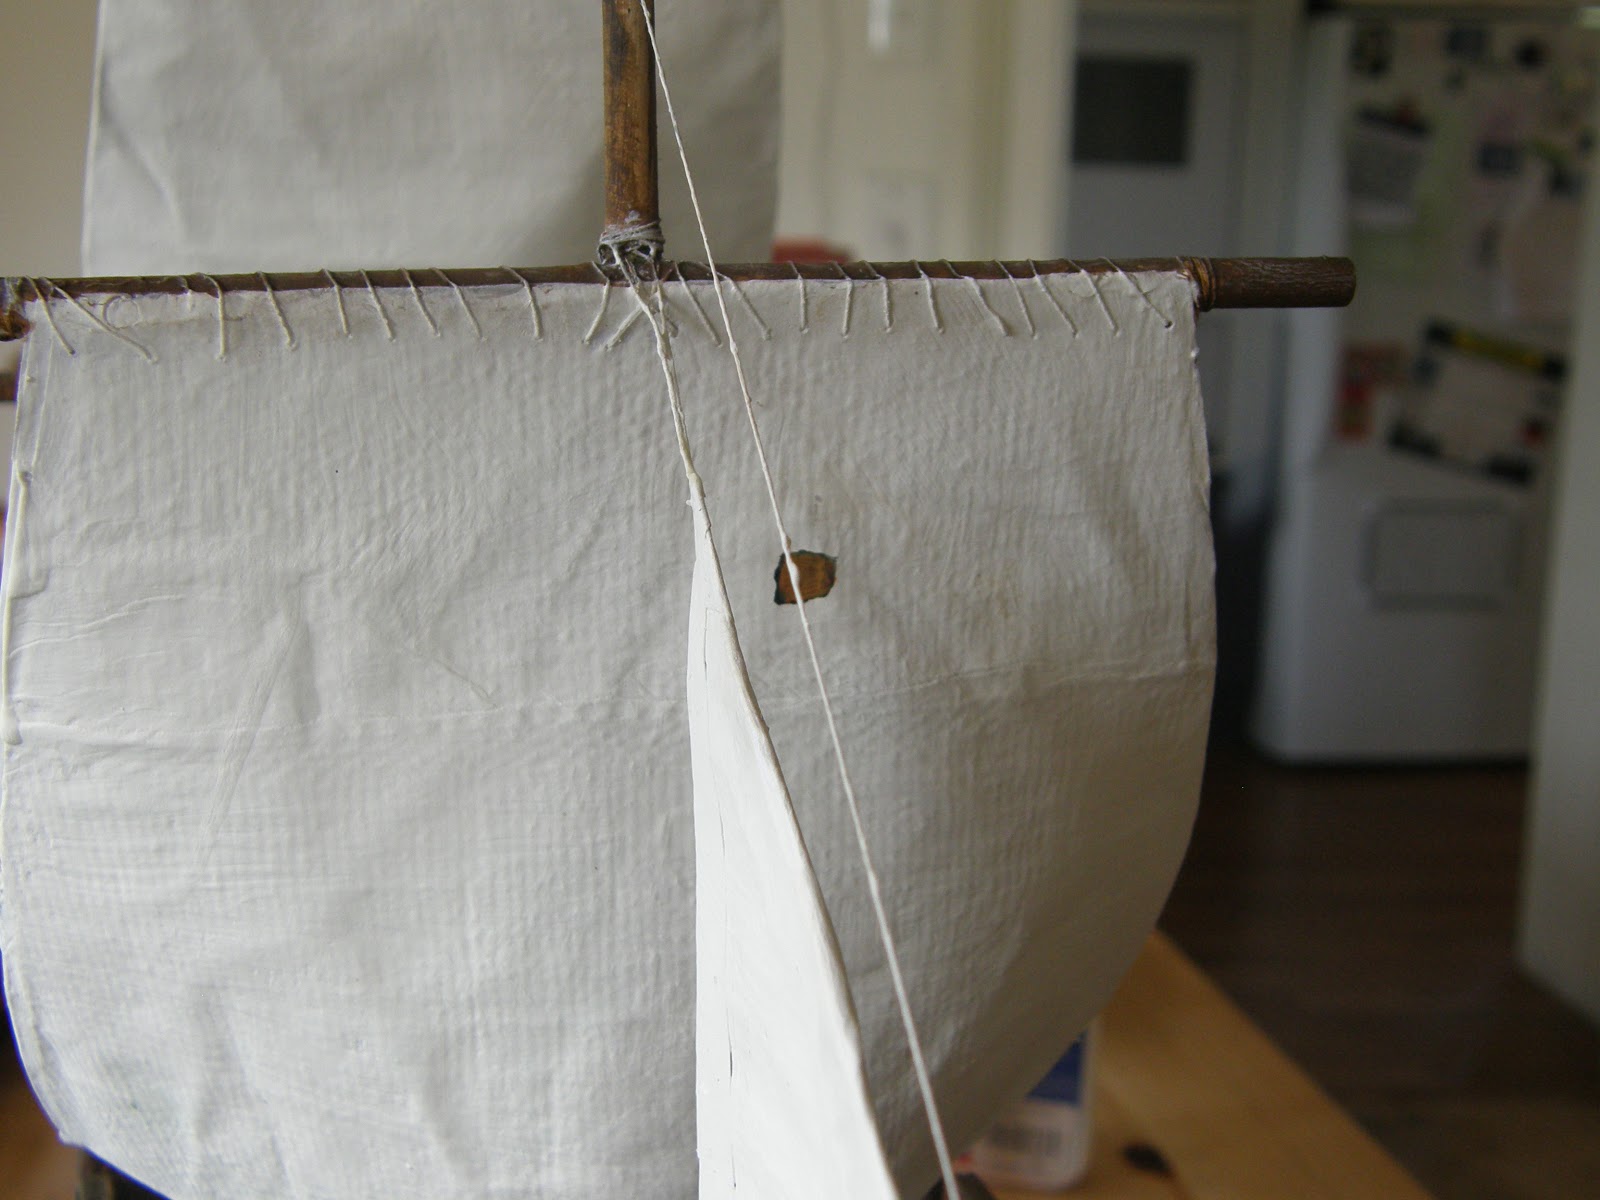
time for some details. get a needle and thread, and start looping the thread through the sail and around the yard. making small holes in the sail. remember to be cautious not loosen the yard from the mast. do this to all the "square" sails.
Rigging comes next. put a hole in the corner of each square sail, then get some track nails for a model rain way (HO/OO scale) push these into the side with pliers, behind the sails. refer to the photo's for placement. put thread around the nails, glue in place then with a needle pull the thread through the hole in the sail make a few simple knots and then add glue... once more make sure its tight
 |
| attaching the sail to the yard |
for the triangular sail tie thread from the top of the sail on the foremast to the jib boom, from the jib boom to the where fore mast below the sail and from there to the top of where the sail goes. then get your triangle glue paper strips to it. on each side then place it inside the thread triangle. wrap the paper around the thread and glue them to the other side of the sail covering the thread. and there you have it. construction of all major things done :-D
 |
| you may end up with something like this for the main mast |
 |
| sail on foremast |
Step 4 final details;
 |
| prow and decoration |
What now you ask... the bow, the prow needs decorating. often you see figures on the front of ships but instead I thought I would put some decorative. if you wanted a figurehead a fig would be fine but for my method get some twine, the stuff you may find at the supermarket. just coil it up and wrap it around and get some pretty patters. glue in place and done.
Now its time to make the anchors, easy peasy, cocktail stick make a grove in one end, glue a bit of thick wire mesh there as in the pictures then get some balsa cut a square out in the middle so that the cocktail stick fits inside. glue all together, then get some twine or some decorative chain you get with some jewelry. glue on top
 |
| anchors |
glue the anchors to the front on either side, with the balsa cross bar over the sides and the chain draped inside the ship. cover up the end with a little balsa box to represent where the chains go. glue in place... perhaps look at final pics to get better sign of anchor placement. CONSTRUCTION DONE :-D
 |
| the triangular sail |
 |
| I painted a patch on the sail |
step 5 PAINT;
 |
| pirate flag arhh |
 |
| rigging shown in all its glory |
now only one thing remains to paint the ship. the bottom of the hull may be white as this area is usually painted. if you paint it white I recommend that if you can scavenge your house paint supplies to save your model paints
the rest of the deck and masts, yards and other wooden areas are painted brown, with lighter brown on some areas like door handles and the ships wheel to add contrast.
 |
| birds eye view |
 |
| ships name on stern |
sails and ropes are also white this is a little tricky because the paint may decide to end up on the wooden areas and not on the ropes. perhaps add some patches to the sails.
 |
| sailing away |
 |
| side view |
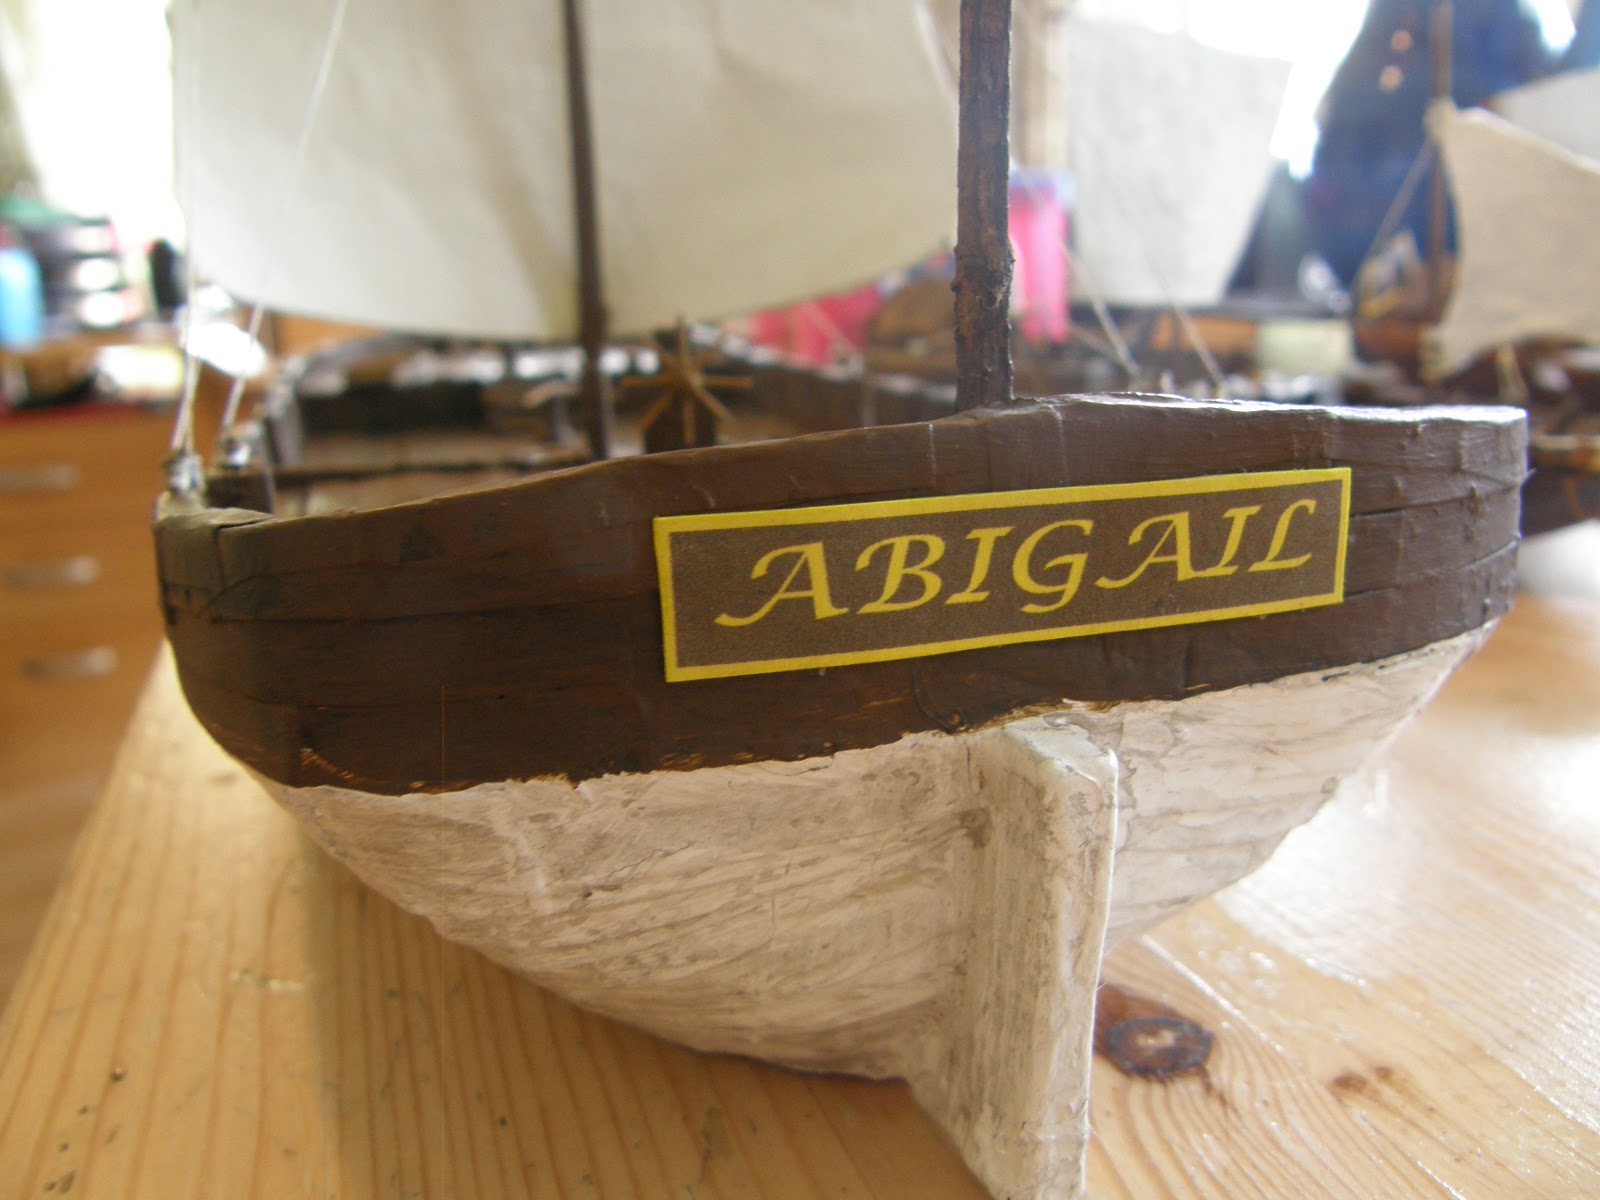
now go to the printer, make a sign with the ships name and download a flag. put the name onto some card and glue onto ship, you can make 3 one big one on the stern and 2 small ones on the bow.... perhaps use a felt before gluing the names in place to hide the card backing of the name.
make a flag, there are many tutorials on this so I am sure that you know what to do if not take a look or use your own methods ;-)
AND YOU ARE DONE!!!!!!!!!!!!!!!!!!!!!!!!!!!!!!!!!!!!!!!!!!!!!!!!!!!!!!!!!!!!!!!!!
and so am I a full post on the completed Abigail will come in the next few days, I hope, my father has been marking and needs the desk all day so I get only small chances to post anything... also I will get back to making Paul but that can wait as I am still working on another tutorial for some little advertising columns, for a friend who wanted a tutorial. Also there are some pirates to make, from the converted Airfix Robin hood figs which may have appeared in earlier posts, also I used the Zvezda medieval field artillery figs as the guns were killed by kitties long ago... more to come as we head to Christmas :-)